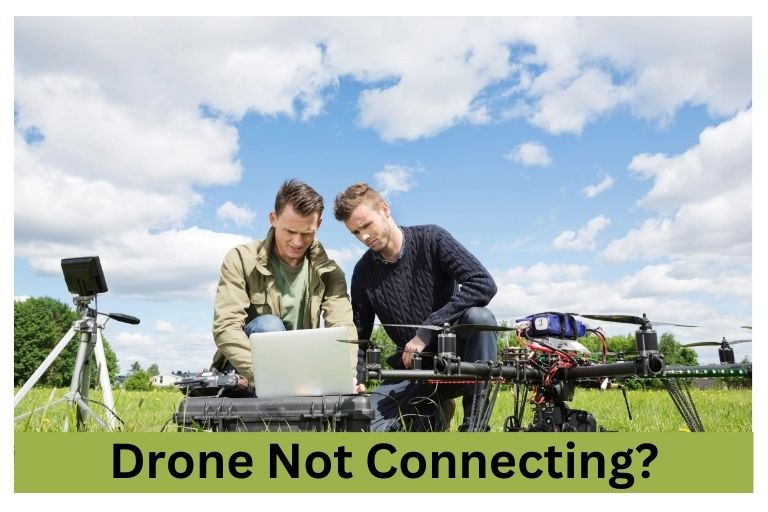
You must need to pair the drone with controller to operate it. It can be frustrating when your drone not connecting before a flight. This problem can affect both experienced pilots and beginners. A drone may not connect due to low batteries, a controller not synced to the drone, or needing a firmware update. Sometimes, rebooting can fix technical glitches. Let us explain more:
Why Is Your Drone Not Connecting?
Many drones are available for purchase. If you can’t solve a problem, reach out to customer service. If that doesn’t help, contact the manufacturer. In my experience, common fixes for connection problems include:
Low/Dead Batteries
Ensure the drone and controller have enough battery power for a successful flight. Keep extra fully charged batteries to avoid being stuck with low power. Follow the right charging steps and use the correct charger to make your batteries last longer.
Having charged batteries prevents connection problems and lets you fly longer. Drones usually fly for 20 to 50 minutes, so having spare batteries ready can improve your flying time. Manage your battery power well to fly more and have smooth flights.
The Controller Was Not Properly Synced
If you’re having trouble connecting your controller to the drone, do not worry. Make sure both devices are turned on before trying to sync them. Turn on the drone and controller and wait for them to find each other.
Look for signs like the drone’s lights staying on or hearing a beep to know they are connected. Be patient and precise during the syncing process. Trust the steps, and soon, you will be easily flying your drone.
A Possible Technical Glitch
Updating the firmware of your drone and controller is important for good performance. Not updating can cause problems with how you control the drone. Checking for updates regularly and installing them right away can prevent issues and make flying easier. Make sure you have a good internet connection when updating to avoid problems.
Restart your controller after updating to fix any issues, and connect it to the drone again. Doing these updates regularly shows you take care of your equipment and want it to work well. It also helps you use the full potential of your equipment. Updating your devices helps you avoid problems and have a fun and smooth flying experience.
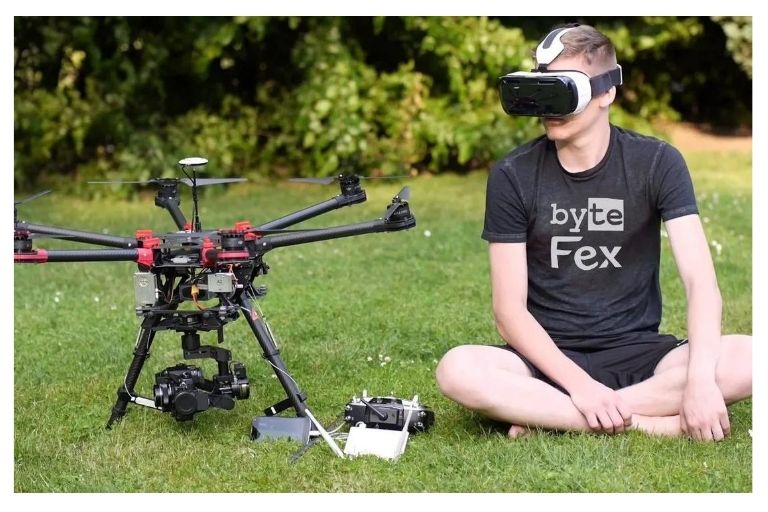
How Do You Sync Your Drone To Your Controller?
Drone processes differ based on the brand. Each drone has a controller for flying, taking pictures, and filming. The controller sends radio signals to the drone to give instructions. You do not need wifi to control the drone with the remote. I will explain how to simply sync the controller with the drone.
Step 1: Power ON The Drone
When you turn on your drone, you wait for signs like flashing lights or beeping to show it’s ready. The power button’s location may vary, but pressing it brings your drone to life. A green light or beep means it’s awake and ready to fly.
This first step sets the stage for pairing your controller to the drone, letting you take control and switch flight modes. Powering on your drone lets you enjoy the mix of technology and nature, exploring new perspectives. The excitement of flying starts with this simple action, showing the mix of simplicity and complexity in every flight.
Step 2: Power ON The Controller
Pressing the power button on the controller creates excitement. The button click marks the start of a fun journey into the sky, full of freedom and adventure. A beeping sound may follow, indicating that communication with your drone is starting.
Some models may be silent. In this quiet moment, there is a promise of discovery as the LEDs light up in playful patterns. These flashing lights are like stars guiding you toward endless possibilities in the open skies.
Step 3: Download The Respective App For Your Drone
Downloading the app for your drone is an important step to improve your flying experience. It helps you connect your controller and drone easily and gives you access to many features and controls. Following the manufacturer’s recommendations on which app to use ensures smooth operation during flight.
These apps also offer features like live camera feeds, GPS tracking, statistics, and flight time for all drones. The app’s user interface is designed to be easy to use, making navigating through settings and options simple. Using technology in this way makes setup easier and unlocks new possibilities for your drone.
Step 4: Launch The App & Enter The Flight Interface
When you open the app and go to the flight screen, you’ll feel excited to control your drone. Connecting your controller to the drone is important for a smooth and safe flying experience.
Just follow the instructions on the screen and press the link button on your drone. When your controller is connected to the drone, you can start flying and capturing amazing aerial footage. Using technology with nature lets you capture beautiful moments from above.
Flying your drone is thrilling and lets you be creative, inspiring you to improve your photography or videography skills.
Things Still Aren’t Working Properly
The controller connects, but the drone won’t take off, disconnects often, or the blades do not spin. Here is what might be wrong and how to fix it:
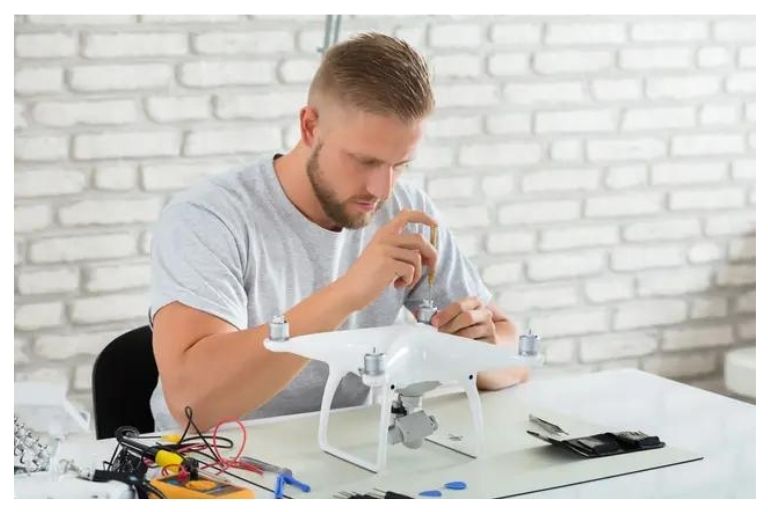
Problem 1: Blades Not Spinning At All
Troubleshooting drone problems can be simple. The common issue is blades not spinning because of hair or debris in the motor. Even without pets, particles can get into your drone. Regularly checking and cleaning the motors and propellers can prevent this.
Storing the drone properly when not in use can also help. A storage case made for drones can protect it from external factors. These steps can extend the drone’s lifespan and reduce the chance of blade rotation issues from foreign objects.
Problem 2: Blades Spinning, But The Drone Won’t Take Off
When starting your drone, put the right blade on the right motor. If you mix them up, it can cause problems. To fix this, check the manual and learn how to put the blades in the correct place. Follow the instructions carefully and switch the blades as needed. Pay close attention to details when flying drones, as a small mistake can prevent your drone from flying.
Problem 3: The Controller Keeps Disconnecting From The Drone
To prevent the controller from disconnecting, check the area where you’re flying. Trees or buildings nearby can disrupt the connection between the controller and the drone. Find an open space with less interference to avoid mid-flight disconnections. Make sure to update your software regularly. New updates fix bugs and improve connectivity.
Updating both the controller and drone firmware can help solve the issue easily. Also, keep an eye on your battery levels. Low batteries can cause power problems, leading to disconnections. Monitor battery life and charge them fully before each flight to maintain a stable connection between the controller and drone.
Conclusion
The reasons behind drone not connecting are signal problems, old software, or compatibility issues. To fix this, figure out why they are not pairing. Update the software, check settings, and remove obstacles. You can usually solve the problem on your own.
If it’s difficult, seek help from customer support or online forums. Being patient and proactive can help solve drone connection problems and ensure a smooth flying experience. Persistence and attention to detail are key when dealing with technical problems.
Frequently Asked Questions
Is the DJI drone not Connecting to Controller?
If your DJI drone is not connecting to the controller, ensure the drone and the controller are fully charged and powered on. Sometimes, a low battery level can cause connectivity issues.
Why is my drone not Connecting to my Phone?
Your drone may not connect to your phone for a few reasons. Ensure both devices are fully charged and close to each other. Check if your phone’s Wi-Fi or Bluetooth is on and connected to the right network for your drone.
What is Betaflight?
Betaflight is a well-liked software for controlling FPV drones. It is made for multirotor aircraft and offers many features to improve flight performance. Users can adjust settings like PID, rates, and filters to make the drone more stable and responsive.
Why Sky Rider Sparrow Pro camera will not display on phone?
If your Sky Rider Sparrow Pro camera is not displaying on your phone, there are a few troubleshooting steps you can try. Ensure the camera and your phone are fully charged and turned on. Then, ensure that the camera’s Wi-Fi connection is active and that your phone is connected to the correct network.
Why is my Drone not connecting to WiFi?
There could be several reasons why your drone is not connecting to WiFi. Make sure that the WiFi network you are trying to connect to is compatible with your drone’s specifications. Some drones may only work with specific types of networks or require a certain frequency band.